
Equipment Needed
-
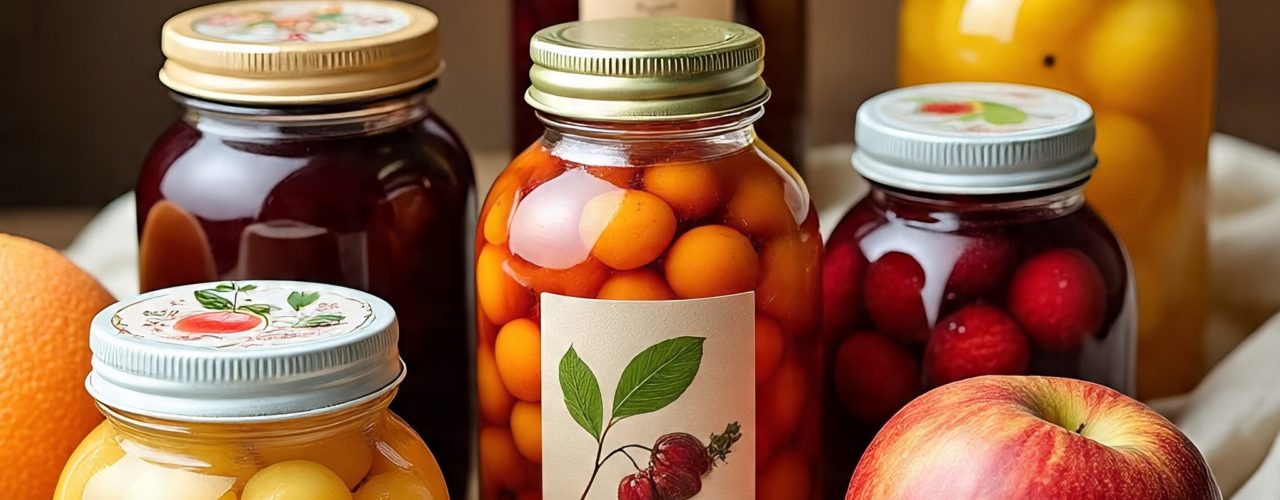
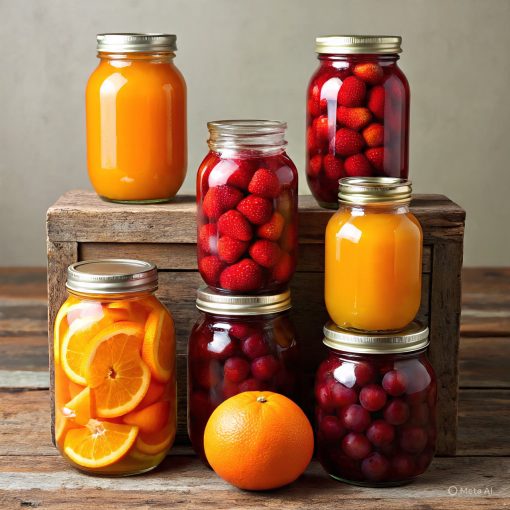
- Jars – either Agee style jars with a seal and a screw band or any recycled jar (jam/pasta etc) with a ‘popping’ lid, the sort that depresses when sealed and pops when opened. Inspect all jars before you begin to make sure they are sound, with no cracks or chips, particularly around the neck as this may hinder a proper seal forming.
- A large pot or preserving pan
- Knifes – a nice sharp one for cutting fruit, also a standard dinner, or butter knife
- Bread board
- Dinner plate
- Pot suitable for boiling lids and seals
- Wide Mouthed Funnel (optional)
- Magnetic Lid Lifter (optional)
- Jar Tongs (optional)
- Labels (because it turns out that bottled Plums look a lot like bottled Black Boy Peaches and I own 24 bottles of preserve surprise)
Sterilising jars and lids
It is all a matter of timing when it comes to sterilising your jars and lids as you want these to be ready at the same time your preserves are. Initially this can be a bit of a juggling act. However I find that if you prepare your fruit, get your syrup underway, you have enough time to sort bottles and jars and lids (heck I even squeezed in making a coffee last time I bottled peaches)
Wash all jars and lids in hot soapy water, rinse and drain.
Place jars upright in the oven, spaced apart so as they are not touching. Heat at 100-120°C for 15-20 minutes.
Place lids in a pot and cover with water bring to boil.
When removing the HOT jars from the oven, do not place them on a COLD surface. Place them on a breadboard or a tea towel spread on the bench. I place mine on a dinner plate that is sitting on a breadboard, why? Because any drips or overrun is then on the plate and easy to clean up.
Fruit
Almost any fruit can be bottled, some better than others. Choose ripe, unblemished fruit. Wash fruit well. Some ideas on how to prepare fruit include:
- Apples or Pears – peeled, cored and quartered
- Apricots, Peaches, Plums – halved, stone removed
- Blackcurrants, Redcurrants, Gooseberries – top and tail
- Blackberries, Raspberries, Loganberries – remove stalks
- Cherries – remove pits
- Citrus – peel and remove pith, break into segments
- Rhubarb – cut stalks into lengths
Don’t be afraid to get creative. We bottle apple and rhubarb together so that we can enjoy crumbles all year round.
Rough Amounts and Measurements
(This will vary depending of size and type of fruit)
For each 4 kg of fruit you will get roughly:
| Fruit | Number of Litre Jars | Fruit | Number of Litre Jars |
| Apples | 5 | Peaches | 5 |
| Apricots | 6 | Pears | 5 |
| Berries | 5 | Plums | 6 |
| Cherries | 6 |
Each 1 litre jar will require 1.5 to 2 cups of liquid
Syrup or Water?
It is possible to preserve your fruit using just water instead of syrup. However it is more common to use syrup. Depending on taste common syrups are:
LIGHT – 1 cup sugar to 4 cups water – light fruits, peaches, pears etc
MEDIUM – 1 cup sugar to 2 cups water – suitable for most fruits
HEAVY – 1 cup sugar to 1 cup water – suitable for hard fruits and berries
Bottling Process
- Prepare your fruit by washing, peeling, slicing etc
- Put your jars in the oven at 100-120°C (these should be in the oven for at least 15 minutes prior to bottling fruit). Get the lids into a pot and onto boil (Once they have boiled I generally turn the element down)
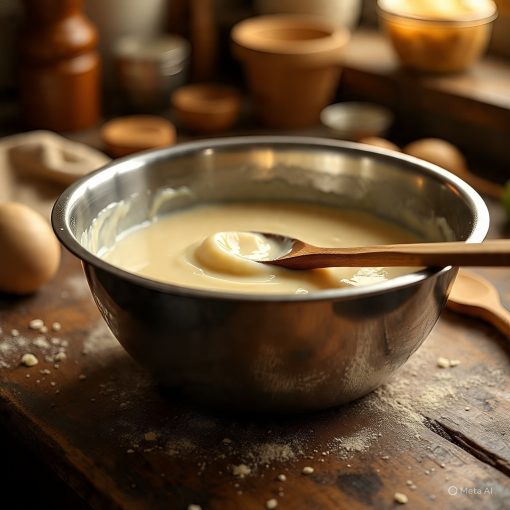
- Prepare the syrup in large preserving pan but dissolving sugar in water and bringing to the boil.
- Add fruit and allow it to cook (it will stop boiling once the fruit is added, once it comes back onto the boil the fruit should be done)
- Remove one jar from the oven and place on your dinner plate which is sitting on a breadboard
- Using a slotted spoon transfer fruit into jar – this is where the wide mouthed funnel really does come into it’s own
- Pour the fluid from the preserving pan over the fruit until the jar is full
- Using kitchen knife run the blade around the inside of the jar to dislodge any air bubbles, tapping the jar gently will also help this process (although I generally end up with burns on my hands using that method)
- Wipe the top of the jar with a paper towel or clean cloth to ensure there is nothing that will impact the seal from sealing
- Using your magnetic lid lifter (or tongs) rescue a lid from your pot of boiling water. Place lid on jar firmly and place jar (careful it will be hot) to one side – also on a board or a towel.
- Repeat steps 4-9 until your fruit and syrup has been used up
NOTE: As the jars cool the lids will ‘pop‘ – this can be a little disconcerting. During the great Feijoa Sauce Fiasco of 2018 it sounded like someone letting of a semi-automatic cap gun in the kitchen. Don’t panic, this is normal and means it is working!
Some Guidelines for Time (in minutes) after the Syrup or Water Comes to the Boil (with fruit in)
| Apples | 20 |
| Apricots | 20 |
| Berries | 15 |
| Figs | Unsuitable |
| Grapefruit or Lemons | 15 |
| Grapes | 20 |
| Guavas | 20 |
| Kiwifruit or Tamarillos | 20 |
| Loquats | 15 |
| Mixed Fruit | 20 |
| Nectarines or Feijoas | 20 |
| Pears or Plums | 20 |
| Quinces | 40+ |
| Rhubarb | 15 |
| Tomatoes | 20 |
Some Disclaimers and Safety Considerations
Test your seals 24 hours after bottling to ensure they are sound. Eat or re-bottle any that are not.
Refrigerate any preserves once they are opened.
If at some point the seal fails after this, discard the contents. Do not eat it!
Store your preserves in a cool, dark place. Light will discolour your preserves. (I have mine packed with newspaper in banana boxes, these are under a bed, which means they are fairly safe in the case of earthquakes and also not taking up a huge amount of pantry space)

