

Dry Seed Processing
Used for; legumes, grains, lettuce, brassicas, onions, beets, carrots, celery etc.
Wet Seed Processing
Used for; soft fleshed fruits, melons, peppers, eggplant, tomatillo, pumpkin etc
Fermentation Processing
Similar to wet seed processing, but the seeds and their juices (as in tomato and sometimes melons and cucumbers) are mixed with a little water and allowed to ferment for a few days. The fermentation process breaks down germination inhibitors such as the gel-sack that surrounds tomato seeds. When a layer of mold has formed on top of the water and the seeds sink, the fermentation is complete. Then simply add more water, swish it around, then decant the mold and pulp. This process is repeated several times until all of the pulp, bad seeds (floaters) and mold is removed, then drain the water from the good seeds seeds (sinkers) and set them out on a plate, screen, or paper towel to dry. Once the seeds are thoroughly dry, place them in a moisture-proof container, label and store them for the future.
Used for; tomatoes, cucumbers, pomegranate, some melons and any seeds that have a gel sack surrounding them after washing
Some Examples:
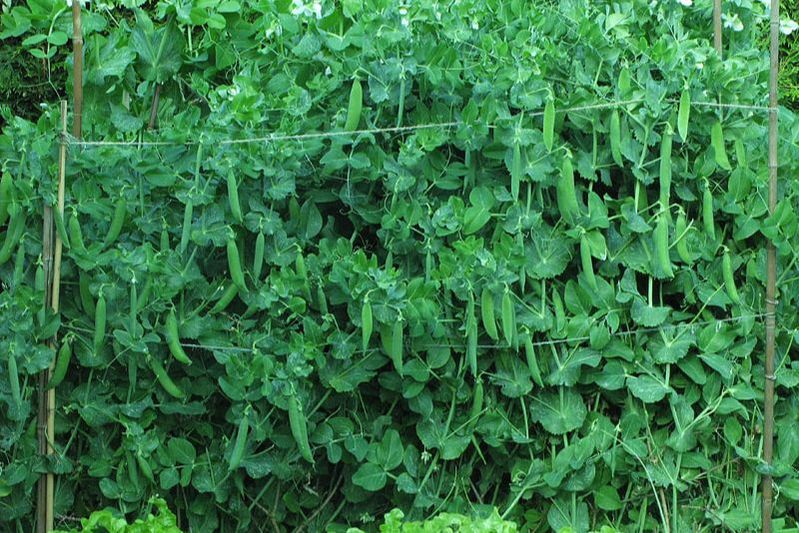
Pea (Pisium sativum)
|
Easy to save
Family: Fabaceae
Pollination: Self fertile, perfect flowers Populatuion Size: Minium one, preferably ten or more Isolation: Easy. Separate varieties by 3-6m, time or physical barrier Cross pollination: Low risk (within species) by insects Processing: Dry method Viability: 3-5 years Peas are an ideal place to start seed saving as they are truly easy peasy. There are three groups of peas. Smooth-seeded peas
are starchier and hardier than wrinkled-seeded peas; edible-podded peas are more commonly known as sugar peas or mangetouts.GROWING FOR SEED SAVING It is possible to grow several seed crops in a larger home garden, if possible 3-6m separation should be kept between varieties. Tall varieties of pea need support sometimes as high as 2m. Seeds should preferably be planted direct as they dislike being transplanted and sown at a depth equal to about twice their size. Rouge out any plants that show odd characteristics particularly changes in leaf structure, flower color, pod size or seed character. |
Hot tip – Protect seeds and seedlings from birds, slugs, snails and other pests. Young seedlings are irresistible
|
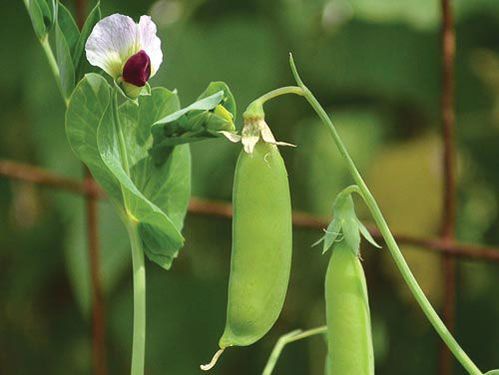
The pods will appear after the flowers open and will develop over a few weeks to eating stage. About three weeks after the eating stage the pods will dry and the peas inside can be rattled (depends on variety). This indicates the seeds are mature and ready to harvest. Pick the pods and then shell out the peas. Dry further by spreading on a tray in an airy location. When dry the peas will split rather than crush and will be impossible to dent when pressed wit your fingernail.STORING SEEDS
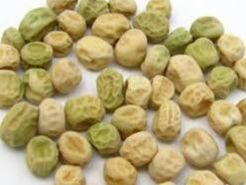
The seeds should be sorted and checked before being stored. Select large, well formed peas with no insect damage. If insect damage is present/suspected then freeze the dried pea seed for three days in a domestic freezer. As with most seeds the trick to long storage is cool, dry and dark. Ensure they are properly labelled and drop off at the seed library.
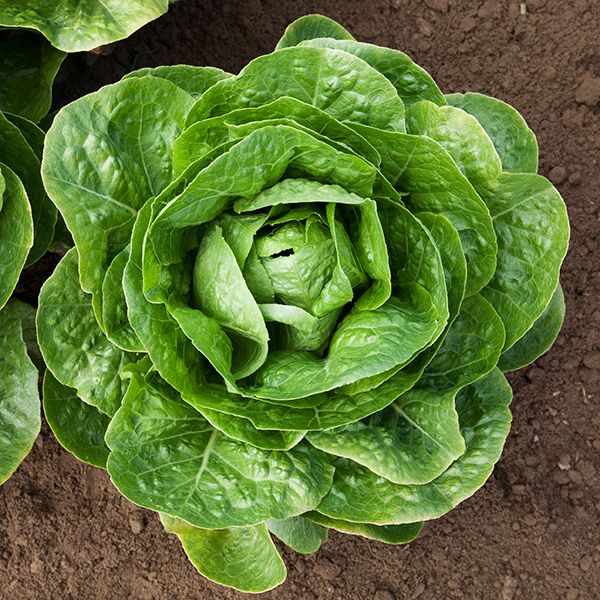
Lettuce (Lactuca sativa)
|
Easy to save
Family: Asteraceae
Pollination: Self-fertile, perfect flowers Population Size: Minimum one, preferably four or more Isolation: Easy. Time, Distance (6m) or physical barrier Cross pollination: Low risk of cross pollination by insects. Can cross with some other wild species within Latuca genus Processing: Dry method Viability: 3-6 years Most lettuces are annuals and although a cool season crop they can be planted in Nelson throughout the year if care is taken to protect the young seedlings from the elements. In hot, dry Nelson summers lettuces sometimes struggle and prefer to be grown in part shade, keeping the moisture up to them through mulching, watering or high organic matter in the soil. Although most varieties are fairly hardy the red ones seem to do better in frosty locations. Successive sowings will help keep your household in young tender lettuces. GROWING FOR SEED SAVING |
Hot tip – Watch out for rains when the seeds heads are ripening |
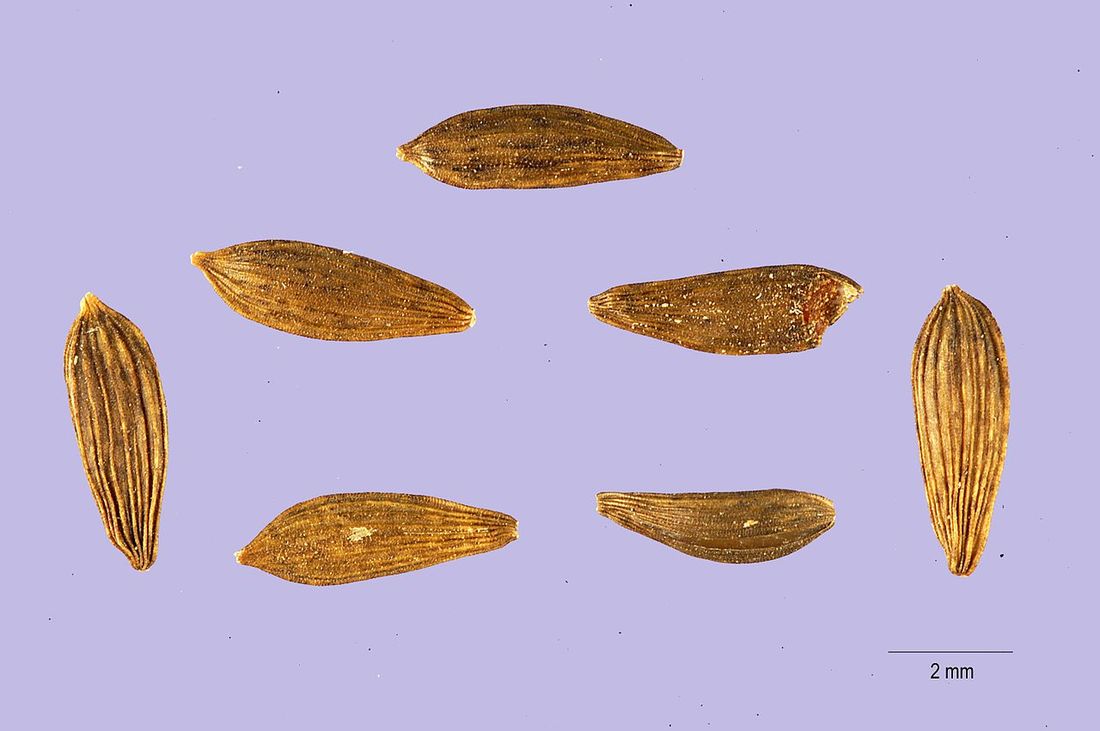
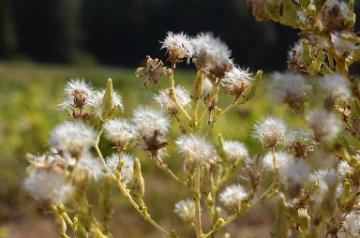
Lettuce flowers are made up of lots of florets, which each contain up to 25 seeds. The flowers mature from top to bottom over a few weeks and ripen in the same order. The flowers contain both male and female parts and will readily self pollinate with good seed set. They do however open briefly and cross pollination by insects during this time is possible, although the risk is low. Isolation can be achieved easily by only having one variety flowering at once, a 6m separation from all other lettuces flowering at the same time should provide reasonable isolation. It is also easy to physically isolate lettuce seed flowers by wrapping in horticultural fleece or a fine insect mesh, no insect pollinators are required for good seed set.
COLLECTING SEED
Between two and four weeks after flowering the seed will become ripe and naturally fall from the seed head. One of the main problems with saving lettuce seed is that the seed will easily rot if the seed head gets wet during the ripening process, either protect it from rain or if you are in for damp week the entire plant can be pulled up and hung in a shed to finish ripening. As the seed ripens over a period of a few weeks, you can visit the seed head every other day and shake the loose seed into a clean bucket, or, once the seed is starting to become loose the entire seed head can be cut and left to ripen in the shed for another week or two. Once dry, the seed head can be shaken into a bucket or threshed onto a tarp to remove the seed. In some varieties the seeds may need to be rubbed free.
STORING SEED
The collected seed can then be cleaned by winnowing, sieving, or shaking from one container to another to separate the chaff electrostatically. Cleaning lettuce seed is a dusty process and the dust can irritate the lungs, try not to breathe it. Once clean the seed should be dried thoroughly, labeled and returned to the seed library.


